Purple Twig- Art Exploration for kids. A mom run small business in Los Angeles. Stop by to see the trials and tribulations.

Monday, July 28, 2014

Building a Fort


This last week during our Gimme Shelter week at camp we transformed a few bamboo beams and pieces of fabric into magical shelters are houses,  hide-outs,  tents,  castles or caves. Making forts is an opportunity for our campers to work together collaboratively building a dwelling under a shady tree during a hot summer day.


Through the tactile interactions with materials, the kids learned basic construction techniques of using rope to build and bind. We taught the kids some utilitarian knots that are essential for building a free-standing fort. 


Using the double knot and fabric strips some of the kids made a garland for the tops of the fortresses. Some of the kids hadn't learned to tie a double knot yet so some older campers took advantage of the opportunity to teach the younger ones this knot. 


The colorful garland really added some whimsy to our skeletal structure. 


Next we added the fabric, discussing ideas and asking questions of what the structure might need for fortification and privacy. 


Windows are a nice idea.


 When the structures were finished they immediately became inhabited spaces where the mysterious and sophisticated work of playing began. Collaboration of another sort took place through the positive imaginative play. They were making plans, creating strategies, sharing and discussing.


To reenforce the idea of communication we also made tin can phones by decorating old soup cans and tying string between the two. We thought this would be the perfect pairing with building forts. Not only were they great little objects, they actually worked.


It was a good old fashion afternoon of playing and creating.


Happy Building!!!


Monday, July 14, 2014

Flying Messages

This week in our Art Colony Summer camp we are exploring the idea of transportation from water travel to land travel but beginning with air travel. Today we talk about hot air balloons. How they work, what you might see. I didn't think that using actual fire and paper to make hot air balloons was safe with children so we used helium balloons.


Using the helium balloons to think about both transportation and communication in a new way, we created a simple project that is appropriate and exciting for many ages.  Each child chose a balloon. They then wrote out secret messages or drawings with a note on the back to send responses the the Purple Twig.  


Some kids wrote out messages along with drawings asking the receiver to make and return a drawing to us. Some kids just wrote something about themselves or just made a drawing to share. 


We then rolled up the messages and tied them to the balloon ribbons. 


We took a hike through the neighborhood to find a good spot to release our messages.


The kids were so excited with anticipation as they wait to release the balloons. And then it happened. They opened their hands and the balloons began to rise. The excitement was contagious as they screamed and danced with delight.


It really was a beautiful sight to watch the dots of bright colors fly higher and higher and get smaller and smaller. We watched them until we couldn't see them anymore.  We are now waiting hopefully for a response.


Happy Flying!!

Saturday, June 21, 2014

A Ceramic Jellyfish?


My son brought this ceramic jellyfish home from ceramic class the other day.  I was ecstatic and could not wait a single second to hang it in our garden. It dances in the wind so beautifully. I just love the juxtaposition of materials, the soft wispy colorful fabrics next to the ceramic head. When one of our teachers, Jillian, came up with this project I thought the combination of ceramic with the fabric would be so amazing. And it is.


This is such a great tactile project for kids. They are basically making slab bowls on molds but keeping them upside down. After rolling out a slab  we place the clay over bowls that I got from the dollar store. We use doilies from flea markets to make the textures in the clay.  


They lay the dollies over the clay and then using a rice paddle the kids whack the doilies into the clay to create the textures. The harder they push it into the clay the more articulate the patterns.


If they wanted they just wipe the pattern away and try another one or layer pattern over pattern.


The whacking really is the most fun for them but the ohs and aahs that happen when they peel the doilies off the clay is pretty wonderful to witness as well. Clay is such a physical medium whether throwing on a wheel or rolling out a slab for constructing something large. 


We had them put a hole in the top to place a rope for hanging. We also had them place holes all around the bottom for the fabric to be woven and tied. After they were fired and glazed and fired again, I just ripped long strips of fabric with different colors and patterns and they chose which ones they wanted to use and wove it in, making knots in the back. 


I was so happy to be one of the lucky families to get one of these and Gus is so proud to have a sculpture hanging in our garden. He says it makes the birds happy. 

Happy Building!!


Tuesday, June 10, 2014

Metamorphosis


I really wanted to get this post up before Spring turned to the long summer days.
Because it's a project that has to do with transformation. The transformation from caterpillar to butterfly still fascinates me and seems miraculous. Even the word metamorphosis is a wonderful combination of miraculous and scientific. Go to the Butterfly Pavilion down at the Los Angeles Natural History Museum to see each stage of this metamorphosis from egg, to caterpillar, to chrysalis to the butterfly and around to the egg again.
In our Parent/child classes we talked about this transformation and created caterpillars from mismatched socks. ( I love to up cycle ).


We talked about how hungry caterpillars are and how they eat and eat and eat as the kids stuffed their socks with stuffing that I used from worn out pillows, pushing the stuffing all the way to the bottom with their little hands. You can also get stuffing from any fabric store. 


After tying the end of the sock the kids glued on buttons and fabric scraps.


The final touch was to wrap the caterpillars with yarn. This keeps all that fabric and the buttons on the creature until it dries as well as mimics the cocoon.


Some kids made loooong caterpillars and


some made small caterpillars. Either way they are soft and snuggly.


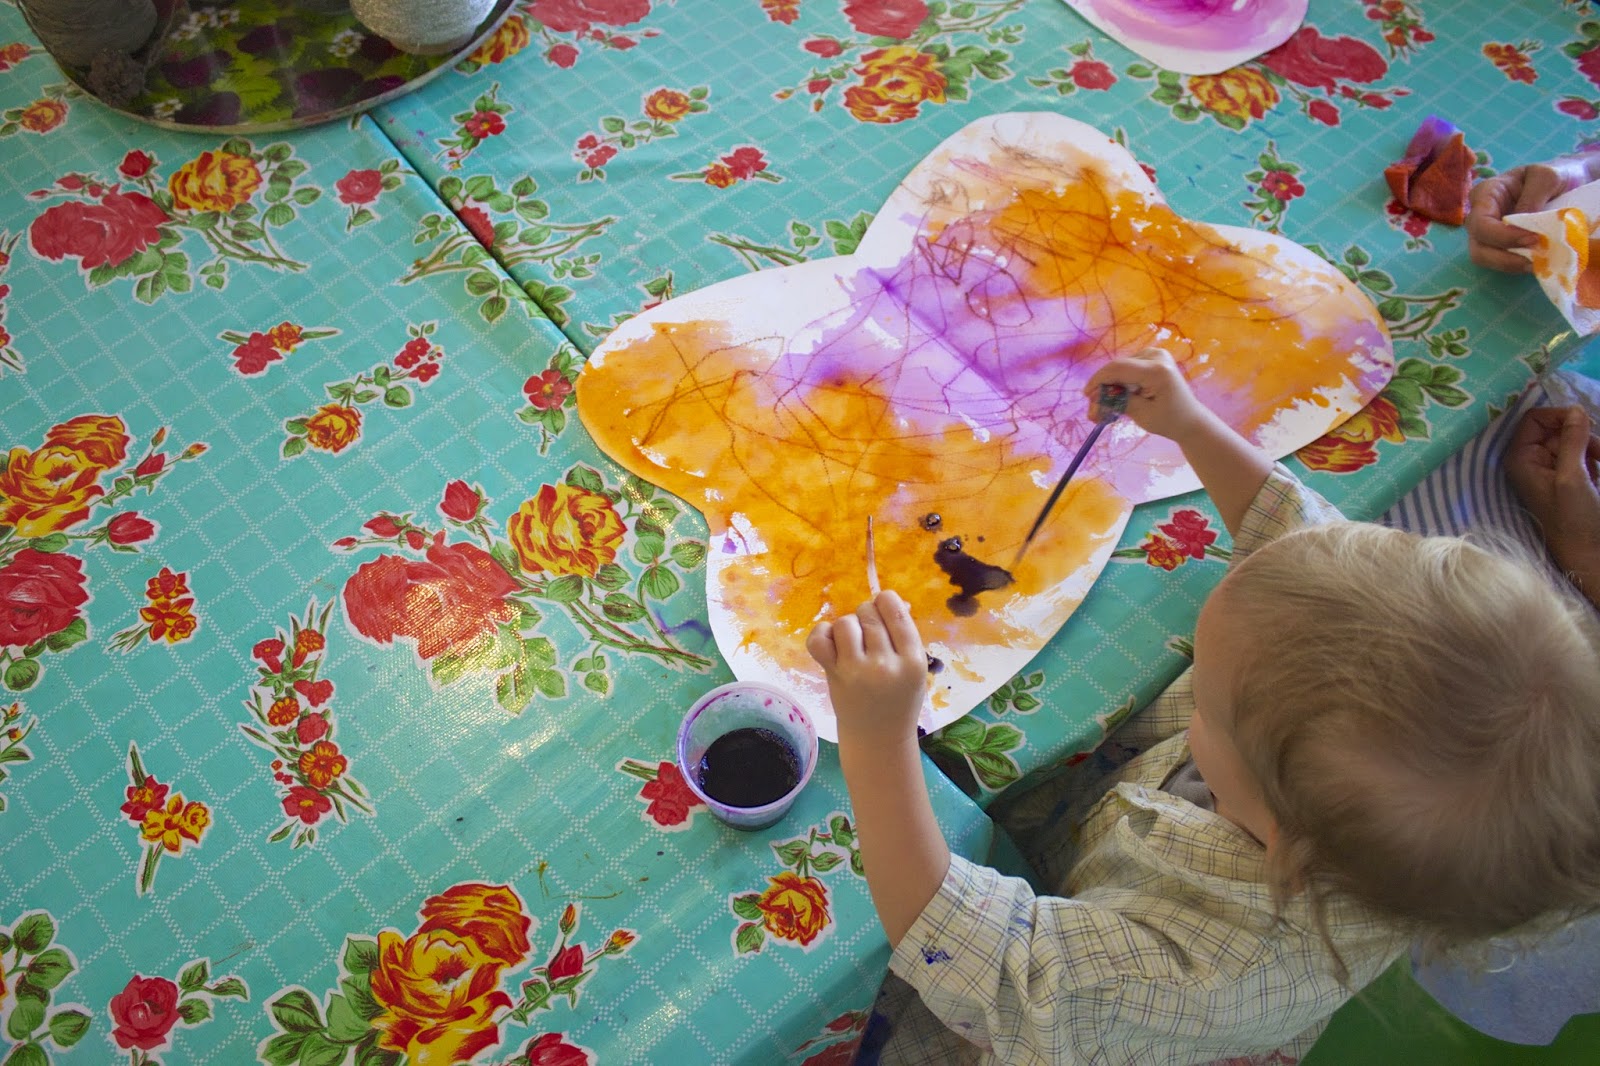
The following week we made butterfly wings from watercolor paper an liquid watercolors. I precut the watercolor paper in the shape of butterfly wings. Instead of using just paint brushes we used little droppers. The kids have such delight when squeezing the end of the dropper to watch the paint spread all over the paper. It's a great fine motor skill lesson for the kids learning they need to squeeze the dropper before they put it in the ink and then let go for the paint to suck up into the dropper. 


 After the paintings dried and it took a while, some of them were very wet from all the paint play,  I glued on a rectangle of cardboard.


I  punched holes in the 4 corners and placed wire or you could use string so that the kids could wear the wings like a back pack, becoming the butterflies themselves. 


Happy Transformation!!!!