Purple Twig- Art Exploration for kids. A mom run small business in Los Angeles. Stop by to see the trials and tribulations.

Friday, April 25, 2014

Camp Flaming Arrow 2014


Our camps foster children's curiosity by not only exploring materials and ideas but also exploring our neighborhood. We believe that children learn though experience, coming to their own conclusions through interactions with their world around them. Our Camp Flaming Arrow is an interpretation of a traditional sleep-out camp. By hiking through the neighborhood, using camping journals, having picnics and doing specimen collecting for art projects sparks enthusiasm in the children for learning, as well as, for our neighborhood communities. 


 Lunch Picnics are a wonderful time for collaboration, sharing and exchanging ideas in playing together. There was a lot of singing, collecting of flowers and plants, hiding and climbing. 


On the first day of camp the kids made writing implements to aid them in their journal writing by putting paper maché around a pen. Carrots always seem to me a celebration of spring so it seemed liked the obvious choice. We put together field journals for the children of things one might find in the neighborhood if you looked closely. Looking is such an important part of art making, looking and having an awareness of your surroundings. 


Some of the kids drew and wrote about what they saw. The younger kids took the initiative to just draw other things of interest they found, negating the scavenger hunt all together.  The discovery of finding different shapes of leaves, small and big and drawing them was such a valuable experience for them. 


Happy Looking!!!


Thursday, April 10, 2014

Fiber Arts

Fabric is one of my favorite materials to use with kids. It is such a versatile material to use with kids and luckily we have so many amazing families who donate gorgeous fabric for our kids. It's a material that is suitable for any age. From age 2 to age 10 here are some fiber arts projects for kids.


In our family classes for ages 2 and 3 most of our projects are process oriented exploring the potential of the materials, but every once in a while I like to make something that is more instructional. This octopus kite made from fabric is a wonderful example. It has an active life after it's made. The kids have such a great time dancing and playing with it.


I gave the kids circular cut fabrics that were stapled together (which is so much easier than sewing it) but with an opening so they could add fluffy stuffing before they painted on it. After painting it the parents then stapled on the fabric tentacles that the kids chose.


I stapled on another strip of fabric at the top and tied it to a dowel and voila an octopus kite it made.


For ages 4 and 5 we used fabric with paper maché goop to make little hot air balloons. The fabric made them so colorful with all those different patterns and colors. This is just paper maché on a blown up balloon. The kids wove string and fabric into a plastic berry basket on the bottom. 


This is such a great decoration for any kids room and they can play with it, adding figures to the basket. 


For ages 6-10 we used fabric strips to weave into a gown in our Fashion Lab. The girls chose their fabrics, cut or ripped them into strips and then warped and wefted their way into these amazing gowns. We left long strips hanging down to make whimsical bottoms of the dress.


Making of the gowns is a fantastic process for the kids but the fashion show is an incredible experience for everyone. We invite families and friends to see the kid's creations. 


 Happy weaving!!!


Wednesday, March 5, 2014

Animal Heads


Will you look at this adorable fox made from a cereal box, newspaper, and paint. Sometimes making art with these kids feels like alchemy. I give them trash and a few instructions and this is what they come up with, GOLD.


They made all kinds of animals from unicorns to cyclops reindeer with small tree branches for antlers. We have pigs, owls and puppies. Paper mâché is so fantastic. I love the way some of the kids left the newspaper exposed, adding a rustic element of design. 

All you need is some cereal boxes, scissors and tape.  If they want to make an animal with a longer face then give them a longer box. If they want and animal that is more round then give them a square box. Cut slits about halfway up the sides of the cereal box on both the front and the back.

Then cut a curved front and back of cereal box and tape the flap down the shape of the curve. This is now the chin or bottom of your animal.

Cut out ears from another cereal box and tape them near the top of the box. You can use a ball of newspaper or another small box as your nose depending on the animal your are making.


Now come the messy fun part. I give each child a tray to work on so clean up is a little easier (not that much easier actually). I mix up about a 1 to 1 ratio of water and flour to make a light paste. Using a whisk is very helpful. I then add a bunch of Elmer's glue which helps to harden the mixture once it dries. Unfortunately I don't have the exact measurements. I am an estimator depending on how the paste feels. But I would say the it would be a 1 part glue to 3 parts flour/water mixture.


Also a helpful tip is to tare the strips of newspaper into squares of different sizes, some 2X2" and some 4X4". The squares are easier for them to wrap around the ears and cove the noses as well as smooth down onto the box form. 


Make sure it's all covered with a few layers. They will usually dry overnight, unless you have a kid who really likes to pack on the goop.


Once they are dried they are ready for the paint and I also like to have them add paper elements, like whiskers, eyelashes or even eyes after they paint them. It adds a nice other element to the faces. 


This girl is adding whiskers to her rabbit by curling strips of paper around a pencil. 


This one has some curled eyelashes.


The final touch is to hot glue a curved piece of wire or paper clip the back of the animal head near the top so you can hang it on the wall. 


Tuesday, February 11, 2014

Valentines Celebration


I love Valentines Day. I can't resist a celebration of love and friendship. Here at the Purple Twig, we usually celebrate Valentines Day with a kid's neighborhood bake sale and a printed Valentine workshop. This year the kids spent the morning baking and icing their cookies to sell.  


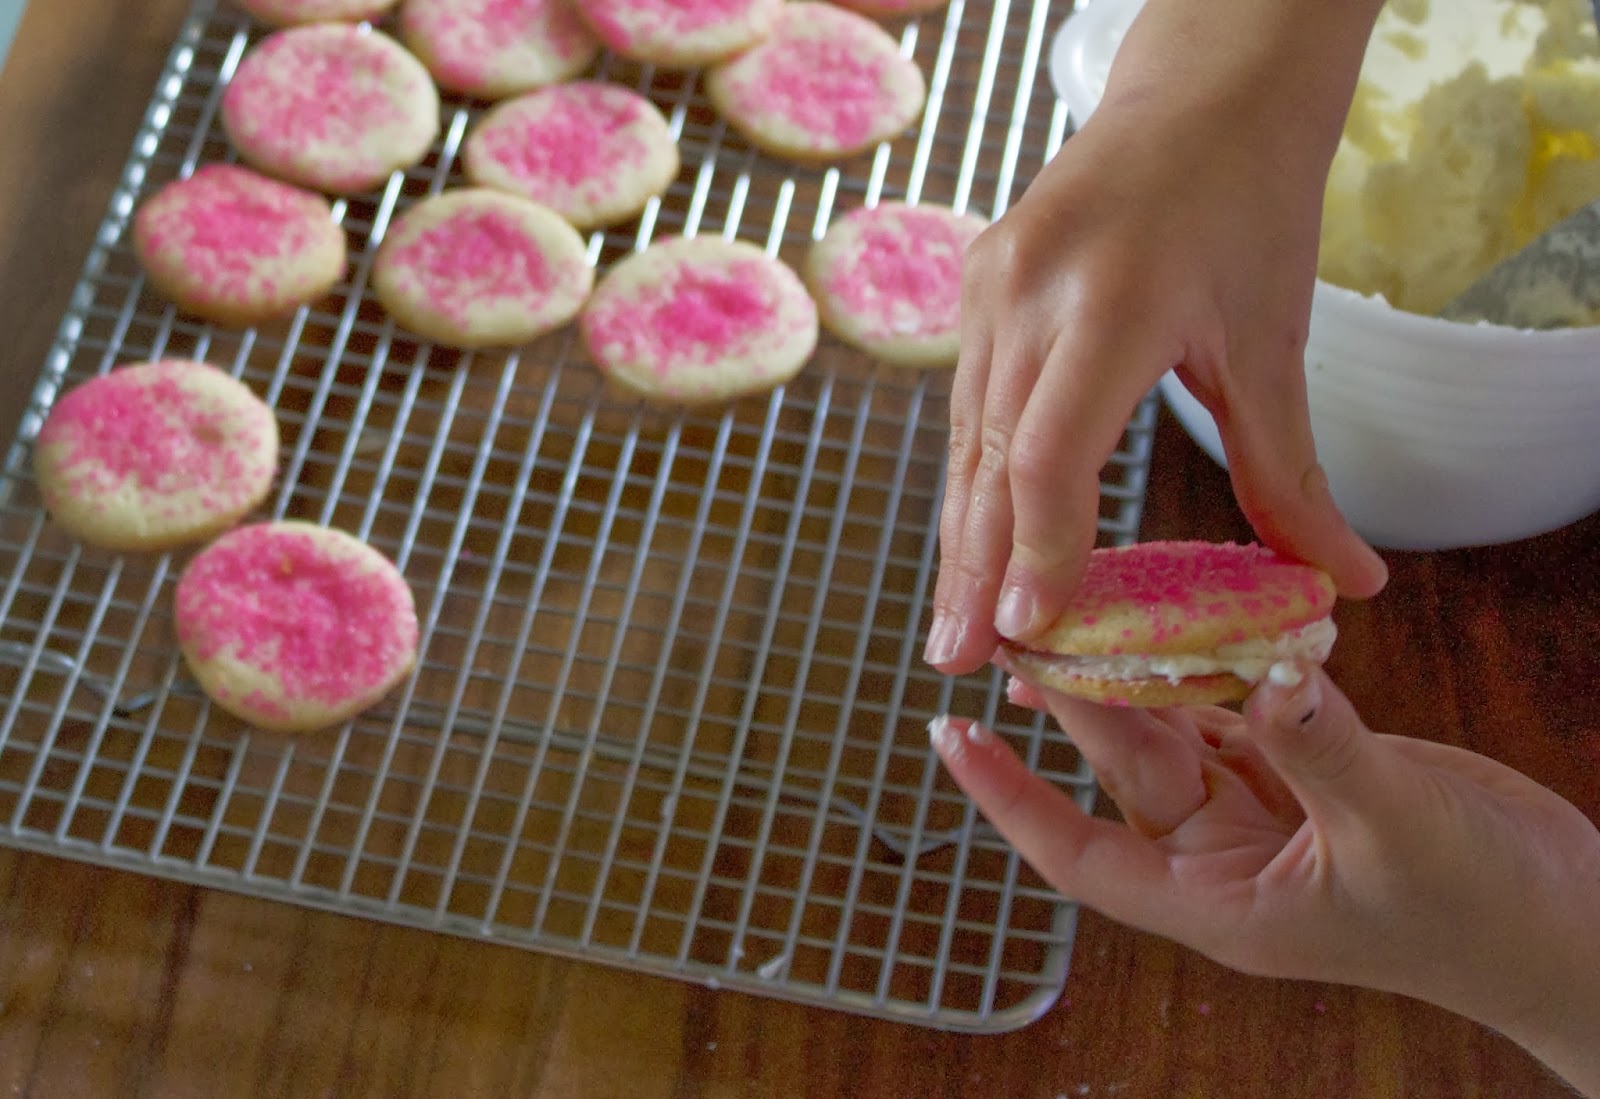
Who could resist these delicious cookies with vanilla buttercream topped with pink sprinkles. Unfortunately I can't.


Or who could resist this face while selling her cookies. She really enjoys the experience of selling. It's such a great way for her to learn about money, counting, adding and subtracting in a rewarding way. 


Inside kids were busy printing away. It's such a great way to make many prints but each are individual.  It's great for ages 3 and it's great for ages 45. The kids learn the basic techniques of printing and the idea of multiples by making a printing plate from styrofoam. They roll on the ink and print on different colors of paper. We also had a few different colors of ink for experimenting.


This guy proudly printed 26 counting each one as he printed them. By the chocolate on his face I'm guessing he also got himself a little treat at the bake sale outside.


Happy Valentines Day!!


Monday, February 3, 2014

Valentine Fortunes


Oh my! Look at these sweet Valentines that my daughter made for her classmates. We love Valentines Day around here. It's such a lovely celebration of friendship and love. We offer Valentine making workshops at the Purple Twig along with having a neighborhood bake sale each year in celebration. I also love to help my children make Valentines for their classmates.  


My daughter wanted to make felt fortune cookies for her classmates. I think she was looking for an excuse to use her typewriter. I found the typewriter in a second-hand store and thought it a wonderful tool for her while learning to read and write. She has written many poems and every once in a while each of us in the family find a type-written letter on our pillow or in a pocket. I love getting those letters. She delighted in coming up with the fortunes for her Valentines sometimes playing on words and sometimes mimicking actual fortunes. She made up about six and repeated them. 


I cut out the red felt circles, each about 4 inches in diameter. We just used self-adhesive velcro circles on either end.


She typed up her fortunes and cut them out adding some hearts on the end.


With the fortunes in the middle she folded the felt with the velcro on the outside. Then she pressed the velcro together and there you have a delightful Valentine.


Happy Valentines!!!!