Purple Twig- Art Exploration for kids. A mom run small business in Los Angeles. Stop by to see the trials and tribulations.

Tuesday, February 11, 2014

Valentines Celebration


I love Valentines Day. I can't resist a celebration of love and friendship. Here at the Purple Twig, we usually celebrate Valentines Day with a kid's neighborhood bake sale and a printed Valentine workshop. This year the kids spent the morning baking and icing their cookies to sell.  
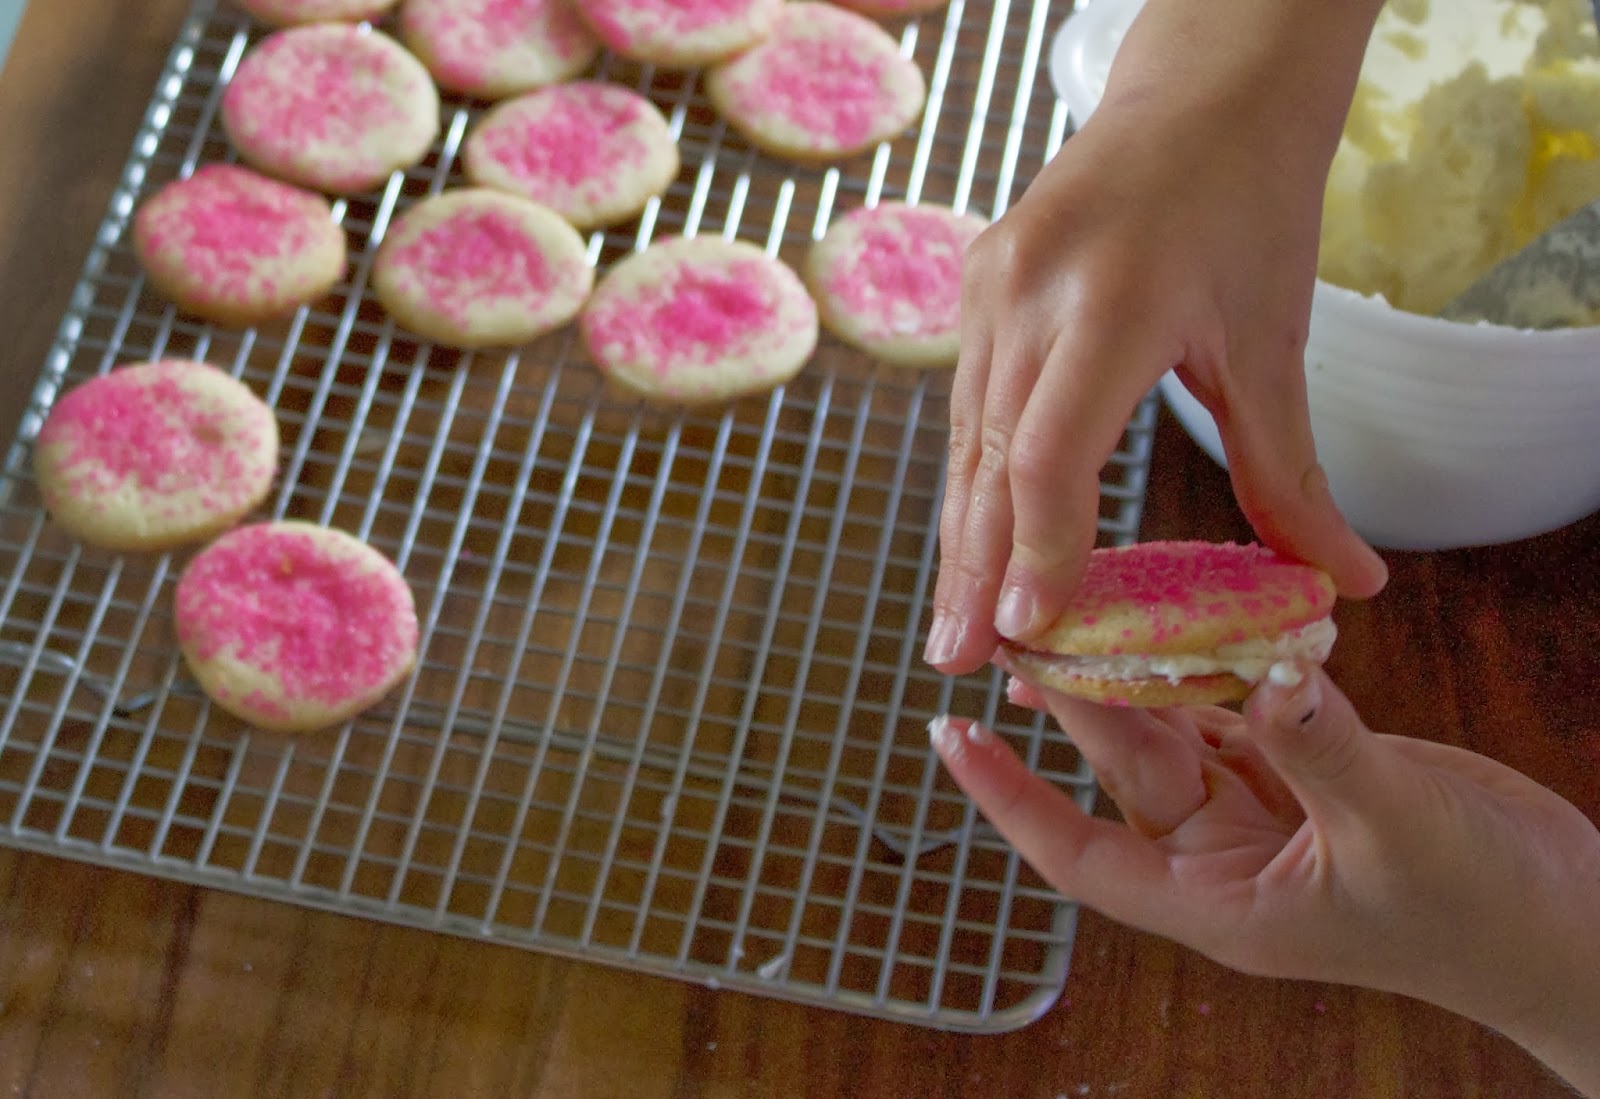

Who could resist these delicious cookies with vanilla buttercream topped with pink sprinkles. Unfortunately I can't.


Or who could resist this face while selling her cookies. She really enjoys the experience of selling. It's such a great way for her to learn about money, counting, adding and subtracting in a rewarding way. 


Inside kids were busy printing away. It's such a great way to make many prints but each are individual.  It's great for ages 3 and it's great for ages 45. The kids learn the basic techniques of printing and the idea of multiples by making a printing plate from styrofoam. They roll on the ink and print on different colors of paper. We also had a few different colors of ink for experimenting.


This guy proudly printed 26 counting each one as he printed them. By the chocolate on his face I'm guessing he also got himself a little treat at the bake sale outside.


Happy Valentines Day!!


Monday, February 3, 2014

Valentine Fortunes


Oh my! Look at these sweet Valentines that my daughter made for her classmates. We love Valentines Day around here. It's such a lovely celebration of friendship and love. We offer Valentine making workshops at the Purple Twig along with having a neighborhood bake sale each year in celebration. I also love to help my children make Valentines for their classmates.  


My daughter wanted to make felt fortune cookies for her classmates. I think she was looking for an excuse to use her typewriter. I found the typewriter in a second-hand store and thought it a wonderful tool for her while learning to read and write. She has written many poems and every once in a while each of us in the family find a type-written letter on our pillow or in a pocket. I love getting those letters. She delighted in coming up with the fortunes for her Valentines sometimes playing on words and sometimes mimicking actual fortunes. She made up about six and repeated them. 


I cut out the red felt circles, each about 4 inches in diameter. We just used self-adhesive velcro circles on either end.


She typed up her fortunes and cut them out adding some hearts on the end.


With the fortunes in the middle she folded the felt with the velcro on the outside. Then she pressed the velcro together and there you have a delightful Valentine.


Happy Valentines!!!!


Friday, January 17, 2014

Winter Fairy Houses


We get so many great material donations from the families who visit us each week for classes. So with those donations I try and come up with a project for our open studio on Saturdays, which is from 10-4:00 by the way if you would like to join us. Each month we offer a different material and project. We have some families who visit us once a month to make something new with their kids. creating together is such great way to spend some time with your children or grandchildren. 
So our shelves were brimming with milk cartons. What to make. What to make. We came up with winter fairy houses from the cartons along with other recycled materials, like tp tubes, corks and coffee lids and filters. Here is how we make them.


We made watercolor paintings for the ousted of the house using the wax resist method. Actually we used oil pastels instead of wax. The kids drew snowflakes onto watercolor paper white oil pastels. 
They then painted with watercolor onto the paper revealing the beautiful snowflakes that had been basically invisible until then.


These paintings were gorgeous by themselves.


After the  watercolor paintings were dry I hot glued them to the milk cartons by wrapping the paintings around the cartons. The kids added large coffee filters for roofs but your could also leave the top of the carton showing and the spout could be a chimney. 


They drew doors and windows using pencils and I cut some of them out for them using an exacto knife.


We then lay out materials for adding wintery touches on the table in bins for the kids to pick and choose how to decorate the houses. Buttons for pathways, lids from juice bottles,  corks, tp tubes, coffee lids, fake snow and sparkly fake plants from Michaels. They just used regular glue to add these elements. 


Look at this special little wintery house that any fairy would love to live in.


Happy Winter!!!


Tuesday, January 7, 2014

Snowflake Paintings


While much of the country is battling some pretty chilling temperatures, we, in Los Angeles, are feeling quite comfortable and witnessing some gorgeous sunset we get during the winter months. 
Inspired by our winter sunsets we made these colorful layered snowflake paintings during our winter camp this week. These are a great way to celebrate the winter in a nontraditional way. All you need is paper and paint and spray paint. You really could use any color or a more traditional colors.


The kids painted a layer of paint onto 12X15 drawing paper.  Some then added another layer of paint in a pattern either polka dots or lines. While those painting dried we cut out paper snowflakes. We cut a few so they could either choose or use both on the painting.


The kids placed the snowflakes onto the painting and sprayed one more layer of spray paint using the snowflake as a stencil. 


The surprise and excitement when they pulled the paper snowflake off their painting was such a delight to witness.  I do so love the playfulness of these colors.


Happy Winter!!!


Tuesday, December 31, 2013

Happy New Year's

When the school's are on vacation we get busy putting together an enriching curriculum for the kids who spend days with us during the camps. During winter break we put together a curriculum surrounding winter, whether it be fairy tales about winter like Persephone or making igloos or winter animals.
For our first day of camp we put together a celebration kit for NEW YEAR'S EVE. I really do love any excuse for a celebration and celebrations are even better with hand made accessories.


We painted show boxes and added some fabric to the bottom. We then filled it with the things we made throughout the day. We made celebration flags, noise makers, and party hats. 


Each project was fairly simple but really fun to put all together. We bought party hats at a dollar store. Took one apart and traced the shape onto paper. We gave the paper to the kids and they decorated them as they wished. After gluing the paper onto the hat form they then choose from different glittery garland  which we hot glued along the rim. They then glued some glittery pipe cleaners or plastic foliage in the top. Voila you have a hat to fit any party. 
The noise makers were also bought at the dollar store. We dissembled them to just the whistle part and added our own decorative paper fringe and feathers. 


After lunch we all went a noise maker parade through the neighborhood. It really was was a great way to celebrate. 


HAPPY NEW YEAR'S EVE!!!


Tuesday, December 24, 2013

Happy Holidays!!!


Spending the morning making paper snowflakes with my children is my idea of a wonderful day.

Happy Holidays to you and your families!!!!!

Wednesday, December 18, 2013

Sparkly Pinecones


The curriculum for our  family classes for ages 2 and 3 being seasonal. I love coming up with ways for these little ones to create objects to bring cheer to the winter. I also use a lot of natural materials as art materials. That way kids find a connection between the world around them and creativity.  So this is what I came up with, hanging sparkly pinecones.


You'll need 
pine cones, which you can collect on walks.
paint of your choice
beads
colored wire ( I use twisteez)
glitter lots of glitter.


After twisting the colored wire around the first few seeds of the cone so that it will hang you can set the pine cone on a plastic plate ( I use these ones from Ikea for all kinds of projects). Give them paint of color of choice and let them go to town. It's a different type of exploration for kids to paint an object rather than on paper. 


After paint comes the glitter which I put in small cups for them to sprinkle and then it doesn't get too out of control. 


I then give them each a cup of beads so that they can bead onto the wire. It's much easier for this age to bead onto wire rather than string. It's great for eye-hand coordination as well as fine motor skills. They love talking about the different colors of beads as they choose them.


The result are these little sparkly tokens of winter to hang in windows or on the door to greet guests.


Happy Holidays!!